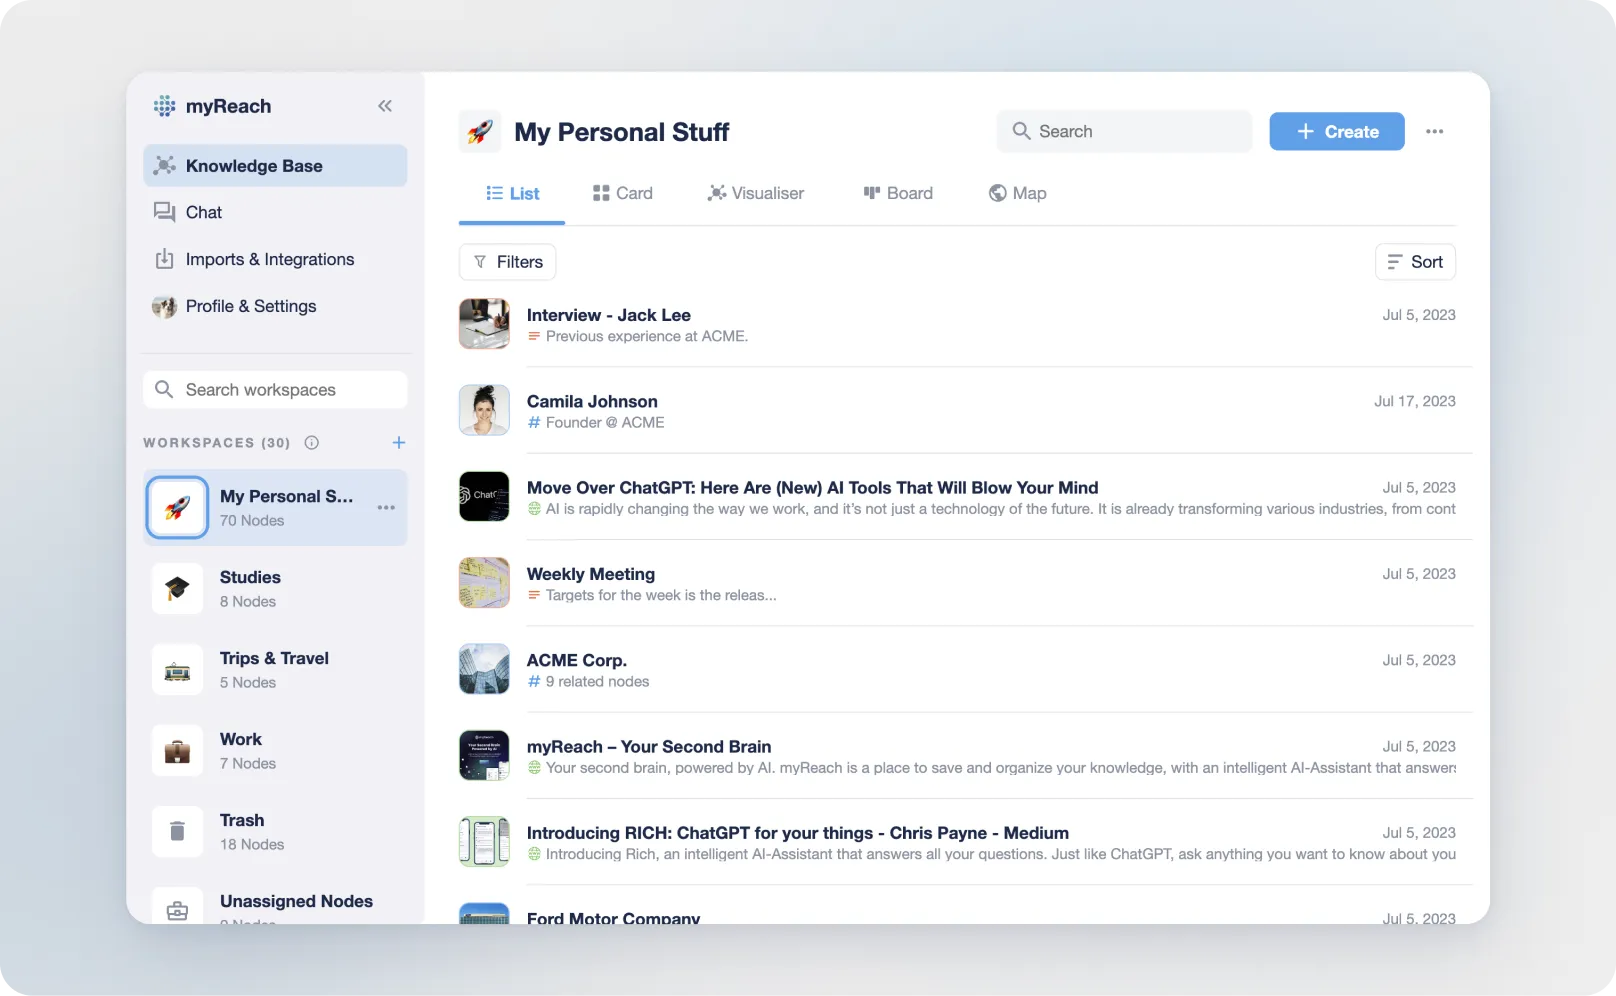
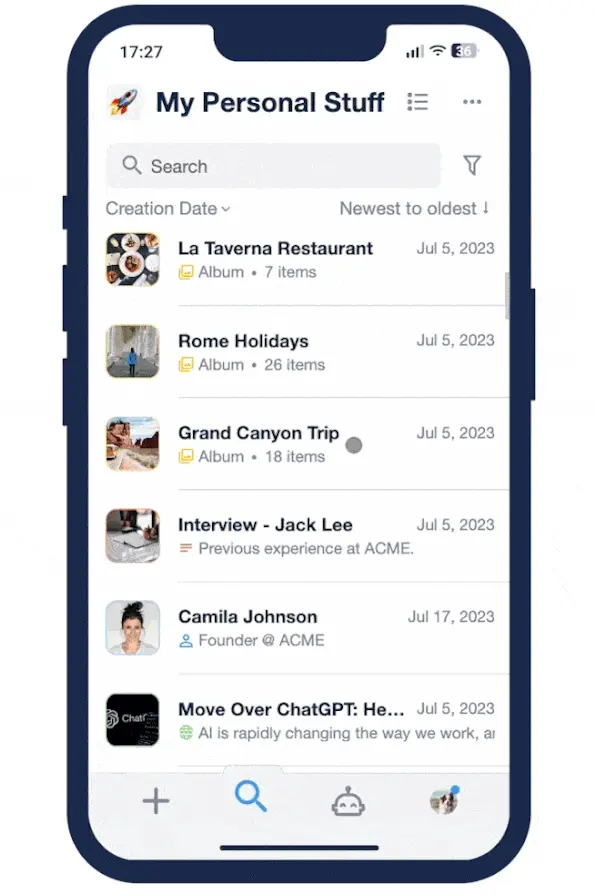
List View
This view presents your nodes in a straightforward list format, making it easy to scroll through and access information.
It’s the default view in myReach, and the one most commonly used. By default, each item displays its title and, in the second line, its description and type. The type indicates whether it's a tag, website, note, or another type of item. If there's no description available, other information is shown such as the number of related nodes (Tag) or the memory usage and page count (documents).
Below the search bar, you can choose how you want to order the items, newest to oldest or vice versa. You can also select the sorting method, including:
-
Updated date (by default)
-
Creation Date
-
Alphabetical
Shortcuts and Swipe
In addition, there are also shortcuts and swipes. These are gestures you can use to perform various actions in List View.
Web app
In the Web App, it’s done by right-clicking on any item or click on 3 dots appear on left side of node when you hover on it. Below are the options taht appear:
-
"Add search filters": adds the item as a filter for your search. Only nodes directly related to the selected item will be displayed.
-
“Exclude from search”: searches for everything except things related to that item
-
“Select”: to select multiple items at the same time and do actions in bulk (send to trash, connect to another node, assign to another workspace, add a property, etc).
-
"Open Website" (Only for website nodes): to open a website in new tab.
-
"Preview" (Only for file nodes): Opens the preview of a file.
-
"Send to trash": to trash a node
Mobile app
Swipe Left: to send an item to the trash.
Swipe Right: to unfold a range of options:
-
"Add to": adds the item as a filter for your search. Only nodes directly related to the selected item will be displayed.
-
“Exclude”: searches for everything except things related to that item
-
“Select”: to select multiple items at the same time and do actions in bulk (send to trash, connect to another node, assign to another workspace, add a property, etc).
-
This can also be done by hold-clicking an item.