Workspaces
What are workspaces
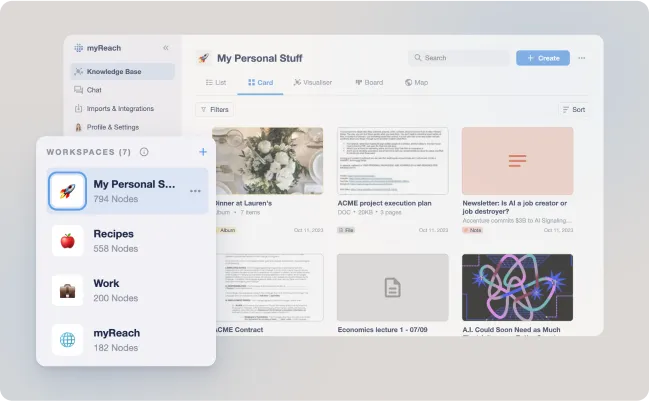
Workspaces are areas of work in the App. Keep things organised by separating different projects or themes in different spaces (ex: Work, Trip to Italy, Project ACME, Bucket List, etc.). Workspaces are a fundamental concept of myReach.
Workspaces consist of nodes. You can see all your workspaces in the side menu and select which one you want to see, to view only the nodes saved in that particular workspace.
Note: You can save one node in multiple workspaces, if necessary. Nodes don’t have to be limited to just one place.
There are 2 essential / default workspaces:
-
Trash - Trash workspace contains the nodes that are deleted. From here you can either Restore the node to its workspace or permanently delete it.
-
Unassigned -
- Any node that isn’t assigned to a specific workspace stays in this workspace.
- When a workspace is deleted, all the nodes in that workspace are moved here.
How to create
Workspaces can be created by either using "+ Create" option in the homepage or '+' option in the side menu.
You can create a workspace in 2 ways:
- Blank Workspace - You just need to provide a name for the workspace and click create.
- Add Integration - This gives you a list of possible integrations. Choose the tool you want to integrate. A separate workspace is created for each tool with the name and contents of the integration.
Workspace details
Workspace details contains all the information about the specific workspace:
-
Nodes contained: displays the list of nodes in that workspace.
-
Properties: includes default properties (Creation date, Modified date, Description) as well as any manually added properties.
Workspace options
In workspace options, you can change the cover picture, rename the workspace, go to the integration, see workspace settings, learn useful tips, copy the node url, or delete the workspace.
-
Change Cover Picture: Customise the visual representation of the workspace by selecting a different cover picture, making it easily recognisable and visually appealing.
-
Rename Item: Modify the name of the workspace to ensure it accurately reflects its content or purpose, helping with better organisation.
-
Go to Integration: This option is available if the workspace is from an integration where you have previously connected myReach with an external tool or platform. By selecting "Go to Integration", you are directed to an integration page where you can manage and add more content by importing data again from your connected sources. It provides a seamless way to expand and update the content within your integrated workspace, ensuring that you have access to the most up-to-date information and resources.
-
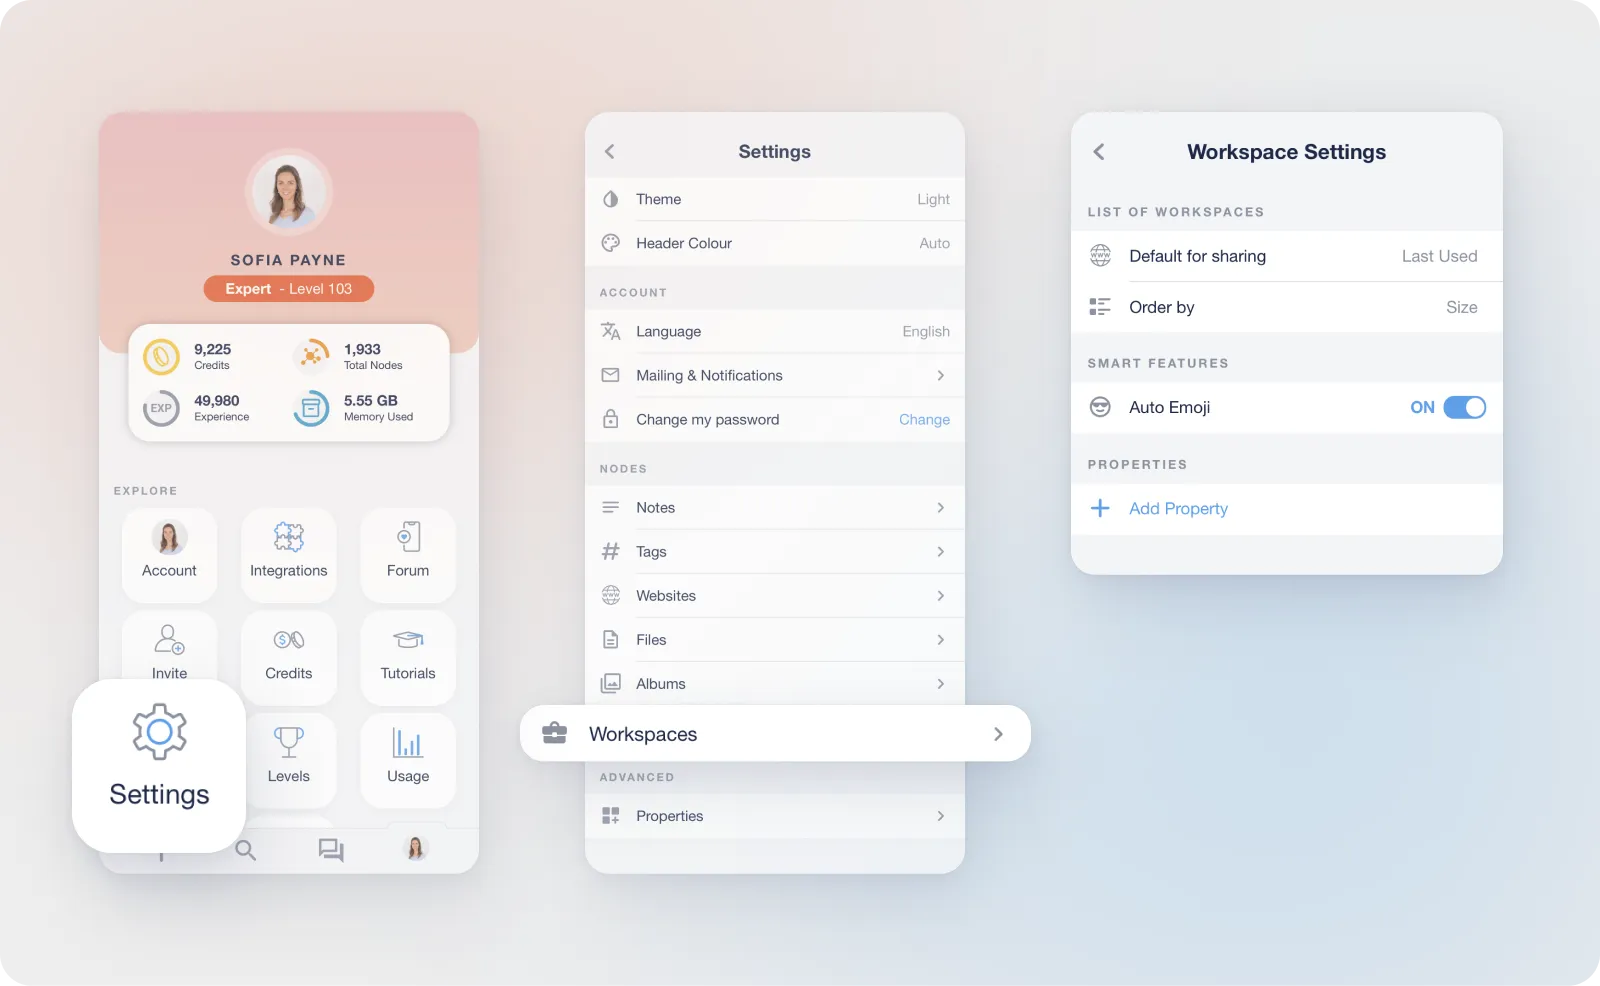
Workspace Settings: Access and customise various settings specific to the individual workspace, tailoring it to your preferences and needs. This includes privacy settings or notification preferences.
-
Useful Tips: Gain valuable insights and tips about effectively managing and using workspaces within myReach to optimise your organisation and workflow.
-
Copy Node URL: Share the workspace by copying its unique URL, enabling others to access it directly, facilitating collaboration and sharing of organised content.
-
Delete: If you no longer need the workspace, you can delete it. This ensures that your myReach environment remains organised and clutter-free. All the nodes that are unique to that workspace will be moved to Unassigned Workspace. Any nodes that are in other workspaces as well will remain assigned to those workspaces.
Workspace settings
You have the flexibility to customise the default settings of your Website Nodes according to your personal preferences.
Find out more about Website settings here.

