Adding a Genie to your website
Once you have created, customised and tested the Genie, you can either share the link with your colleagues, clients, or people who you want to give access to the AI Assistant, or you can embed it on your website.
Here's a quick guide to add your AI Assistant (Genie) to your webpage:
-
Go to the General settings section in the Settings Tab.
-
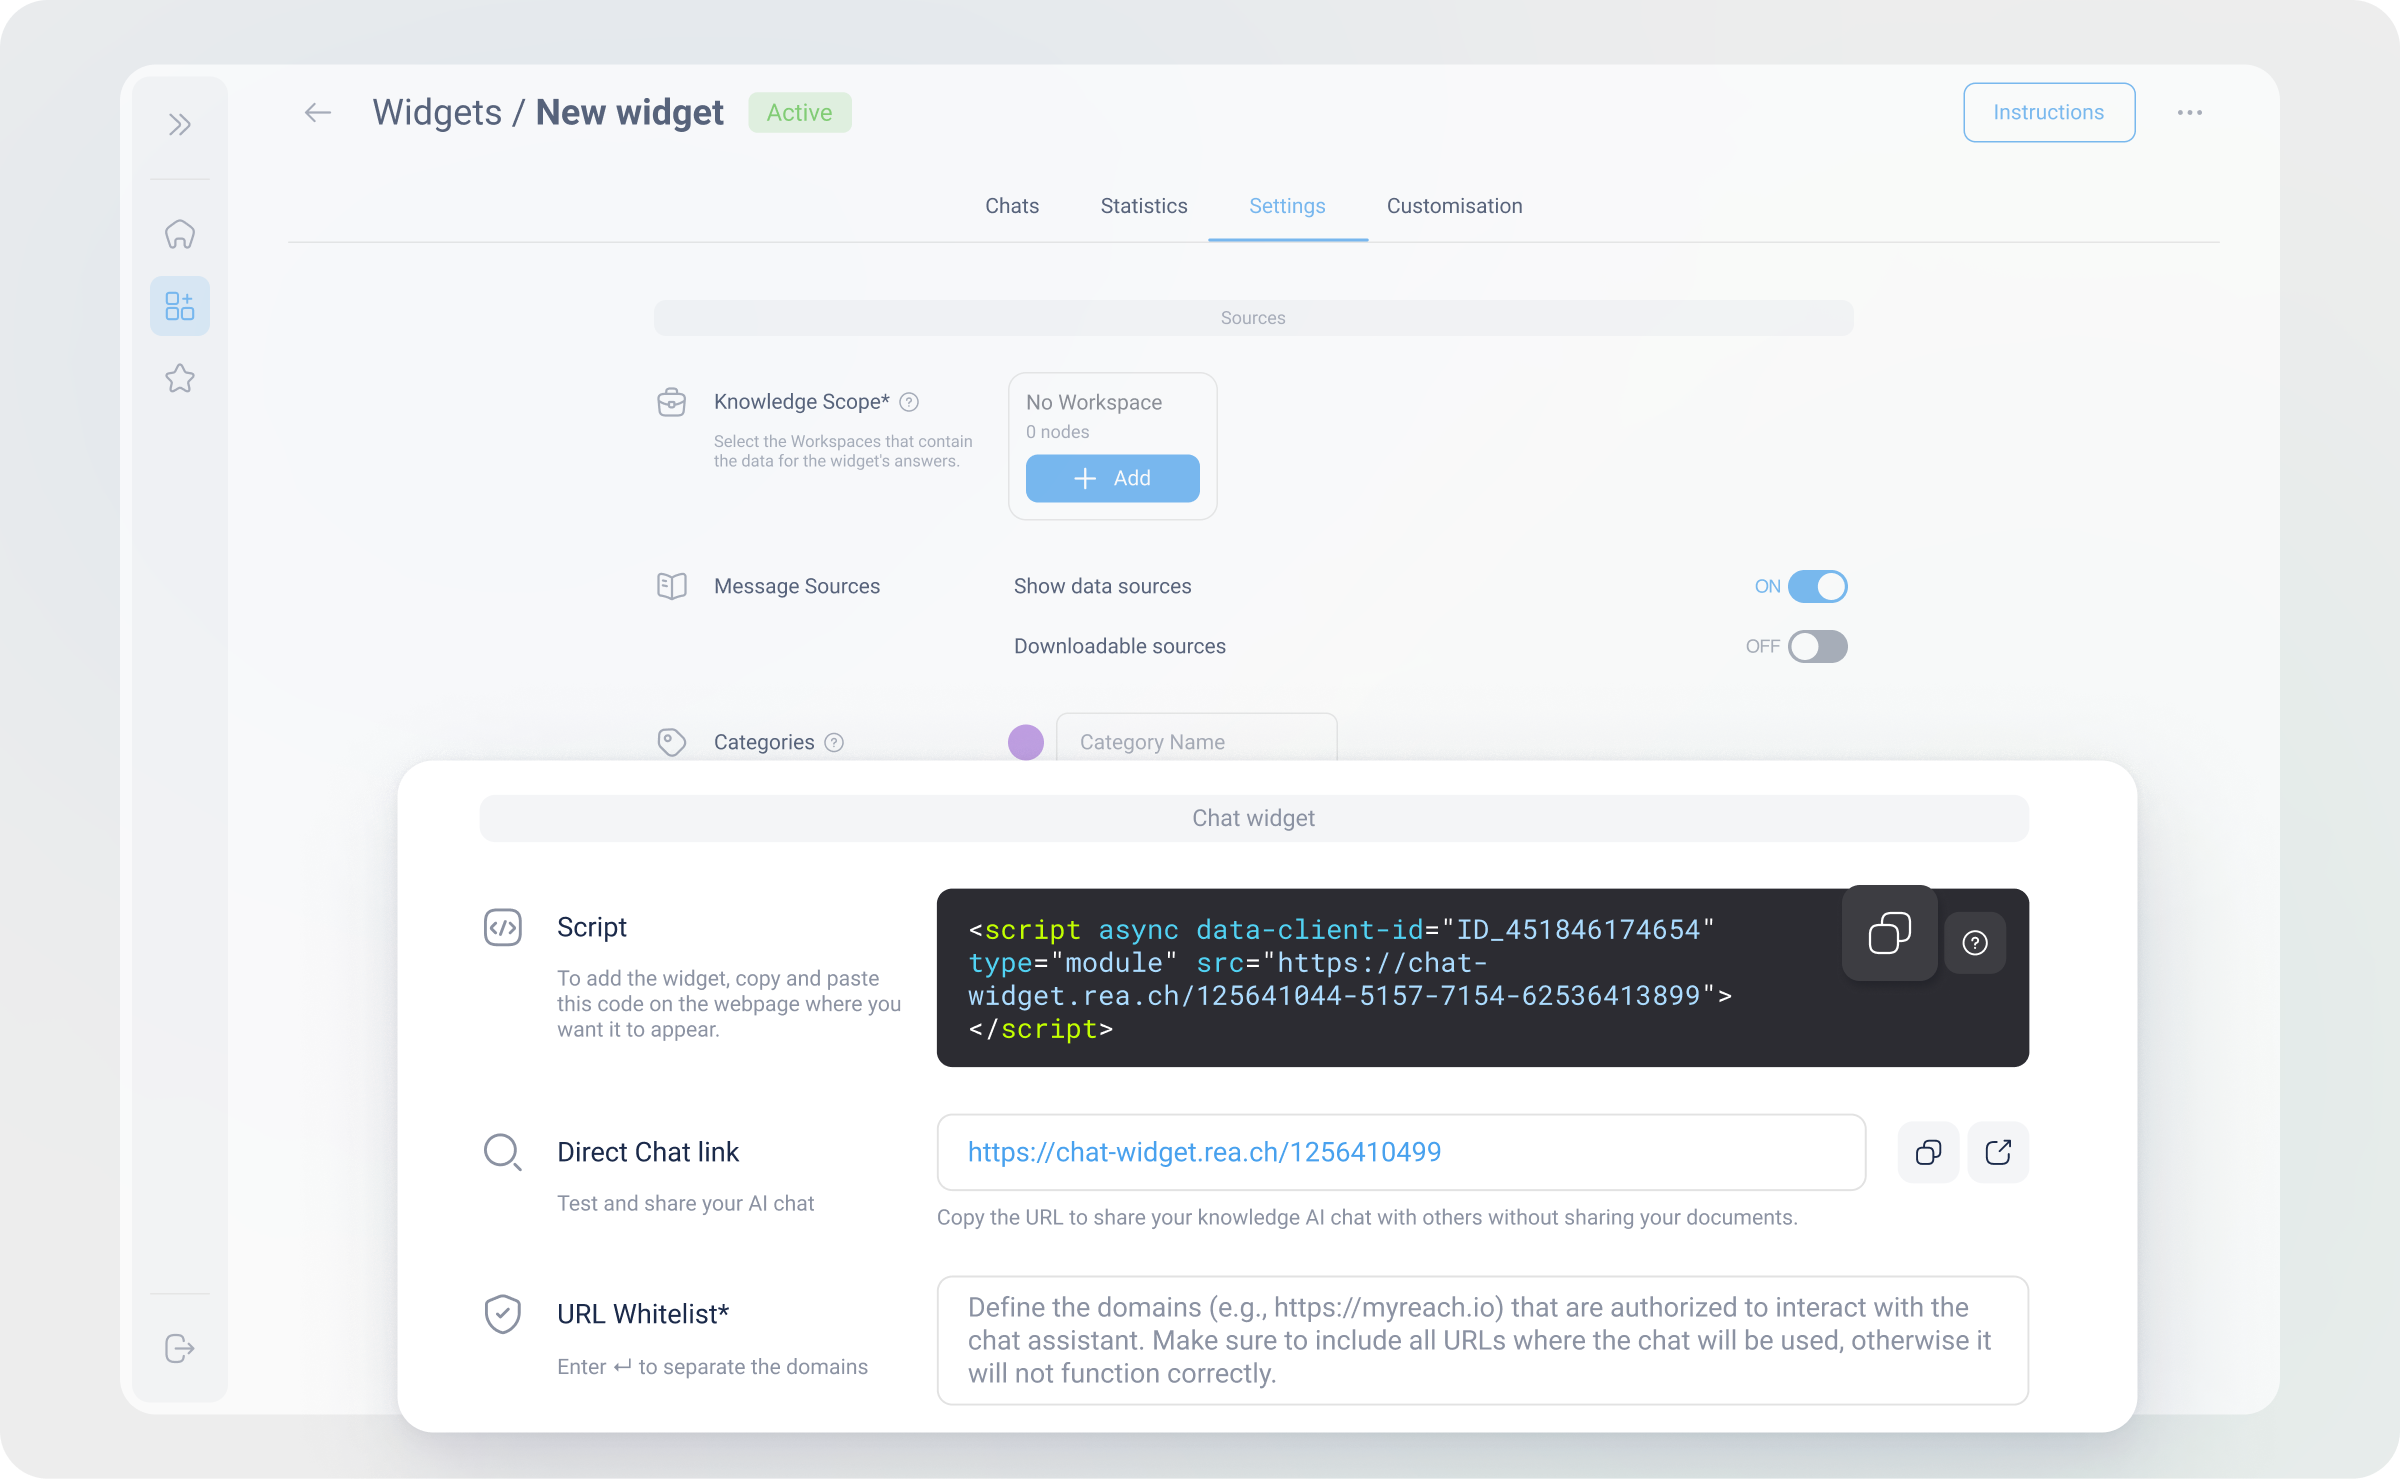
Scroll down to the Chat Setup section and copy the script provided.
-
Paste the script code into the HTML of your webpage where you want the Genie to appear.
-
Save all the changes made to your website's HTML
Click here for a more detailed step-by-step guide as well as specific instructions to install myGenie on the most popular website builders (including Wix, WordPress, Squarespace and more).
Three Design Options
When incorporating your AI Assistant into your website, you have three design options to choose from:
1. Traditional website chat widget
This option features the familiar chat icon in the bottom right corner. When clicked, it opens a small chat window, allowing users to interact without navigating away from the page. It's user-friendly and stays visible as users scroll, making it ideal for ongoing engagement.
2. Embedded iFrame on a page
With this option, you place an embedded iFrame in a specific section of your website. It provides a larger chat interface, offering a more immersive interaction. However, it's worth considering its placement, as it remains static and doesn't follow users as they scroll through the page. It is only seen once the user lands in the section of the page where the iFrame has been placed.
3. Full-screen link
This option includes a link that opens the AI Assistant in a new tab, providing a full-screen experience. While it offers an extensive and focused interaction, it takes users away from your main website, which might divert attention from your primary content.
Choosing the right option
Each design option has its advantages and is suited to different scenarios. Option 1, the traditional in-page chat, is the most commonly used due to its familiarity and unobtrusiveness. That being said, your choice should align with your specific use case. For instance, if you aim for a more interactive experience, Option 2 might be suitable, while Option 3 could be beneficial for dedicated training sessions or extensive user interactions outside the main website context.
Selecting the design that best fits your needs will enhance user experience and engagement on your site.