Create a widget
It's a simple process that only requires a minute of your time.
⚠️ Remember to click the save button in the top right of the page, so you don't lose your changes. The notice sign next to the widget name (top left of the screen) will show you the status of the widget:
 The widget is live on your website.
 There is a toggle in the Settings Tab to enable or disable it.
 This occurs when the knowledge scope is missing.
❗️Notice:
Before creating a widget, you need to have populated one or more Workspaces with your company's data (files, handbook, company policies, website pages, etc.). This is where myGenie will get its knowledge from, to answer your customers' questions. Click here to find out more about Workspaces.
Once you have added your company's knowledge to a Workspace, follow these steps:
Steps to create a widget
-
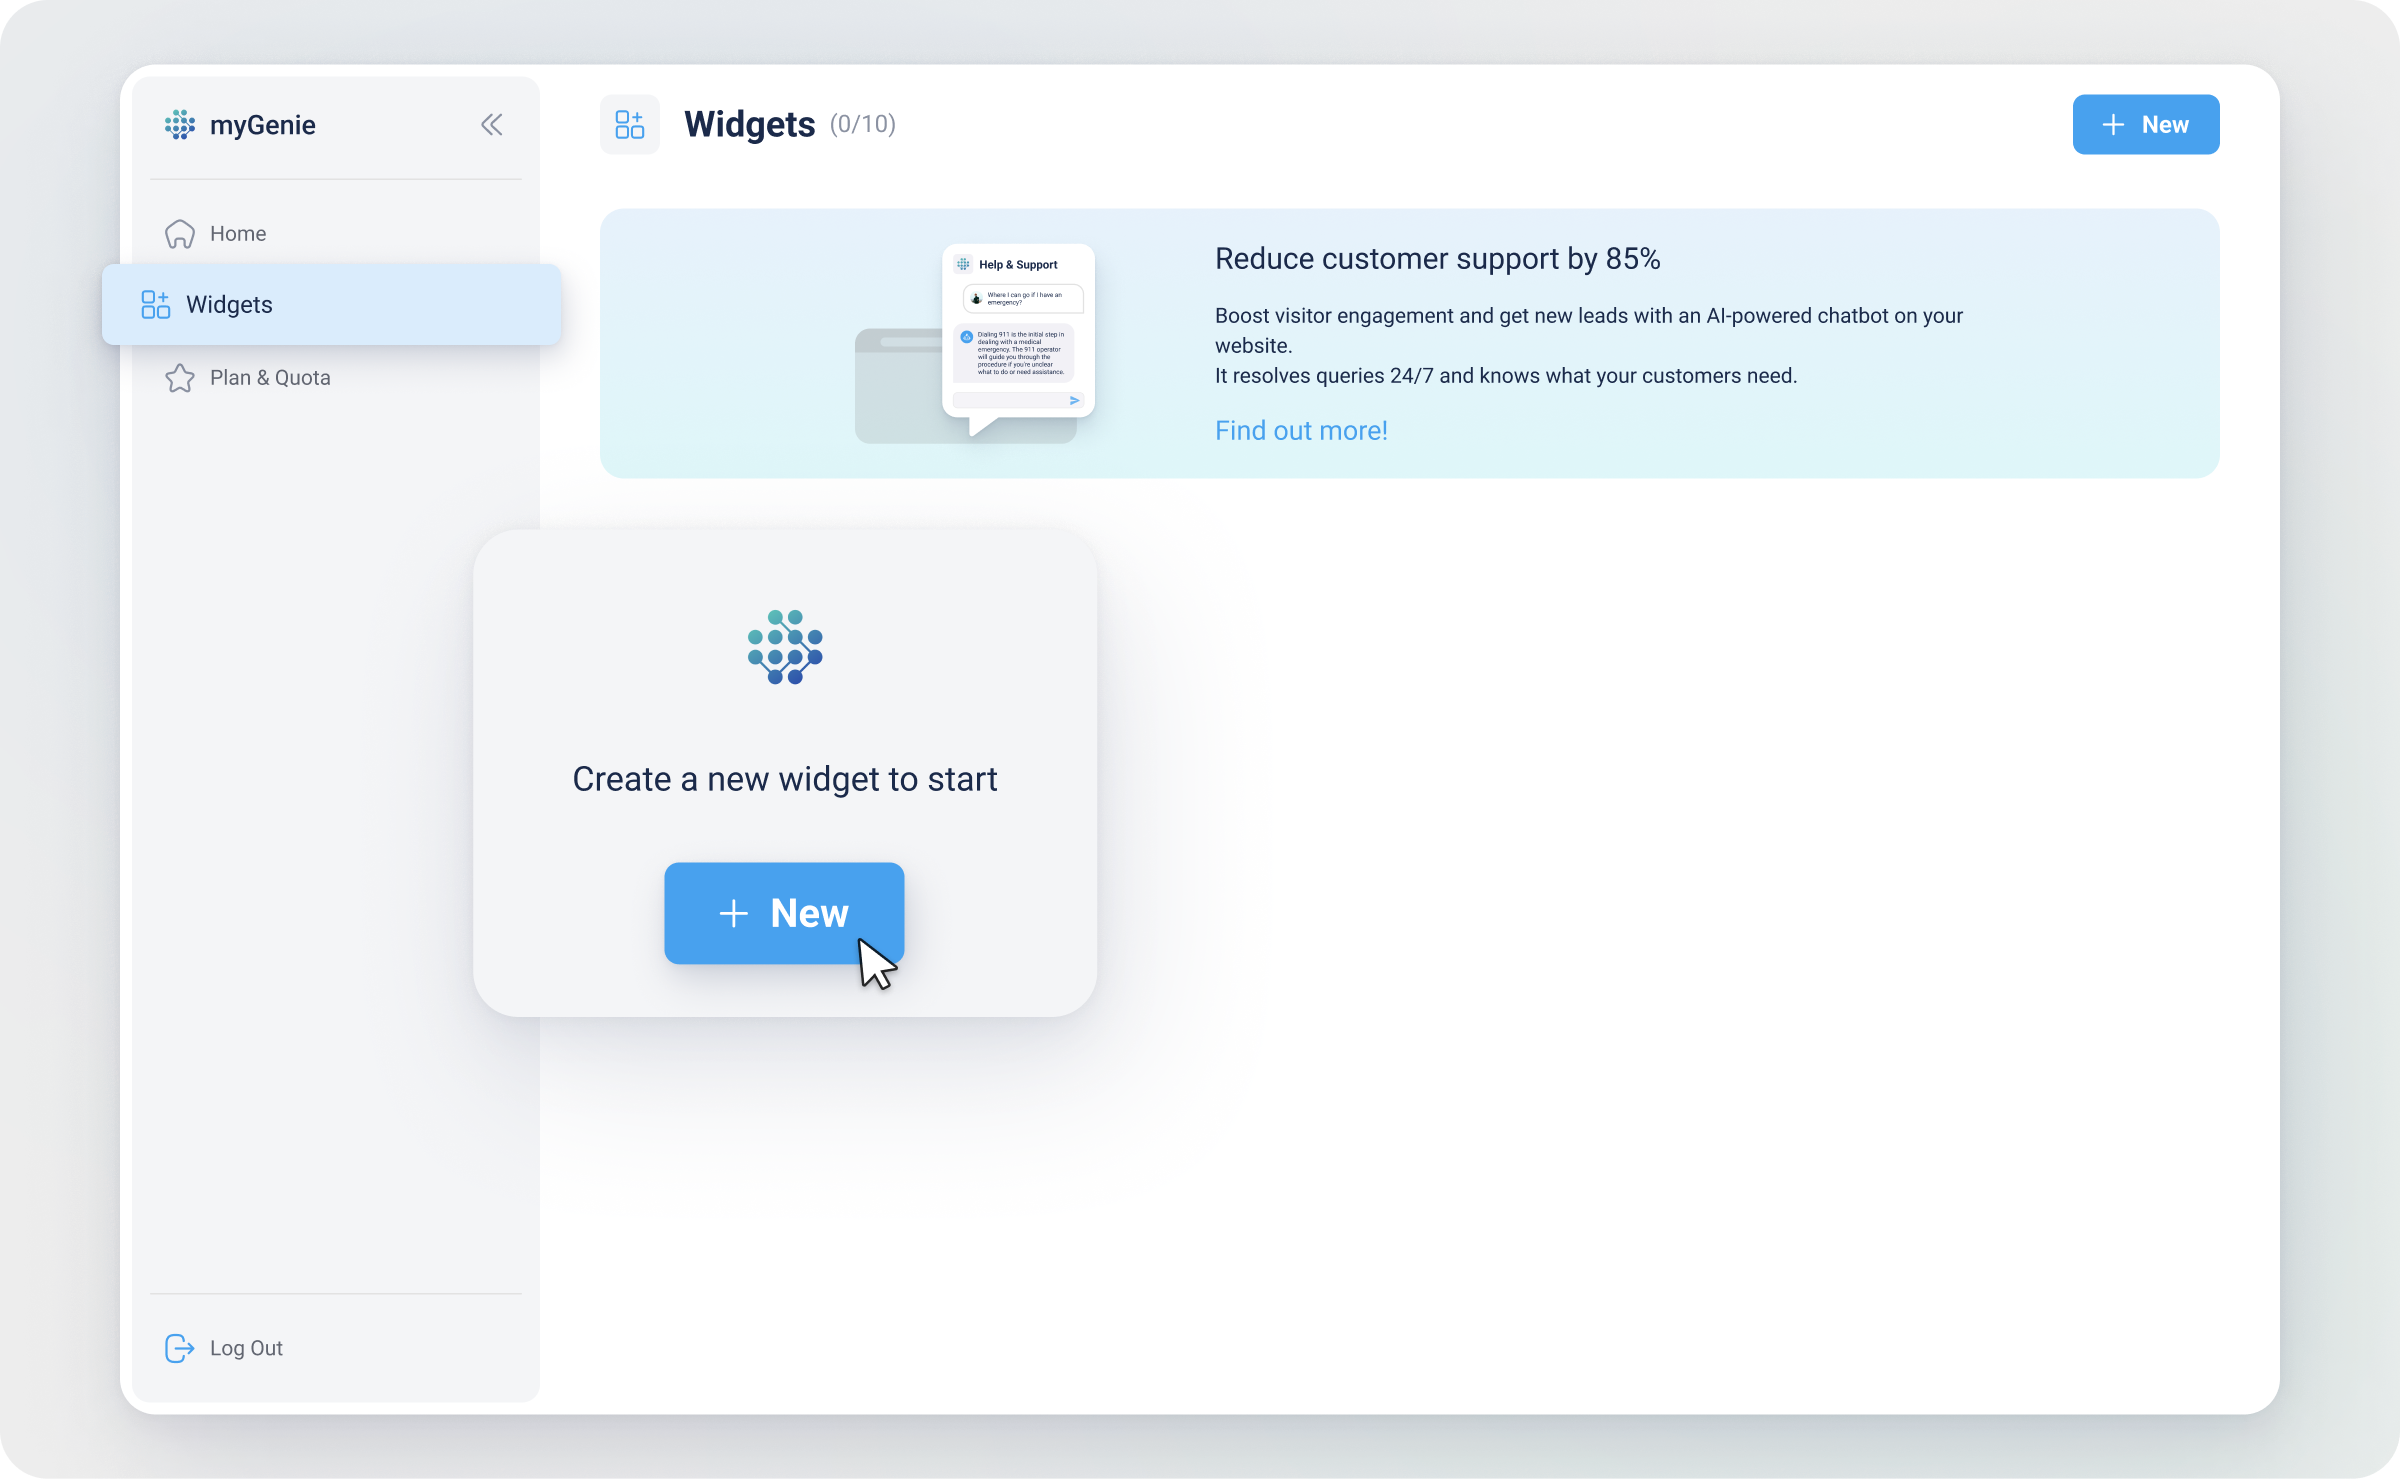
Login to myReach and navigate to the Widgets section on the left sidebar.
-
Click on +New to create a widget.
-
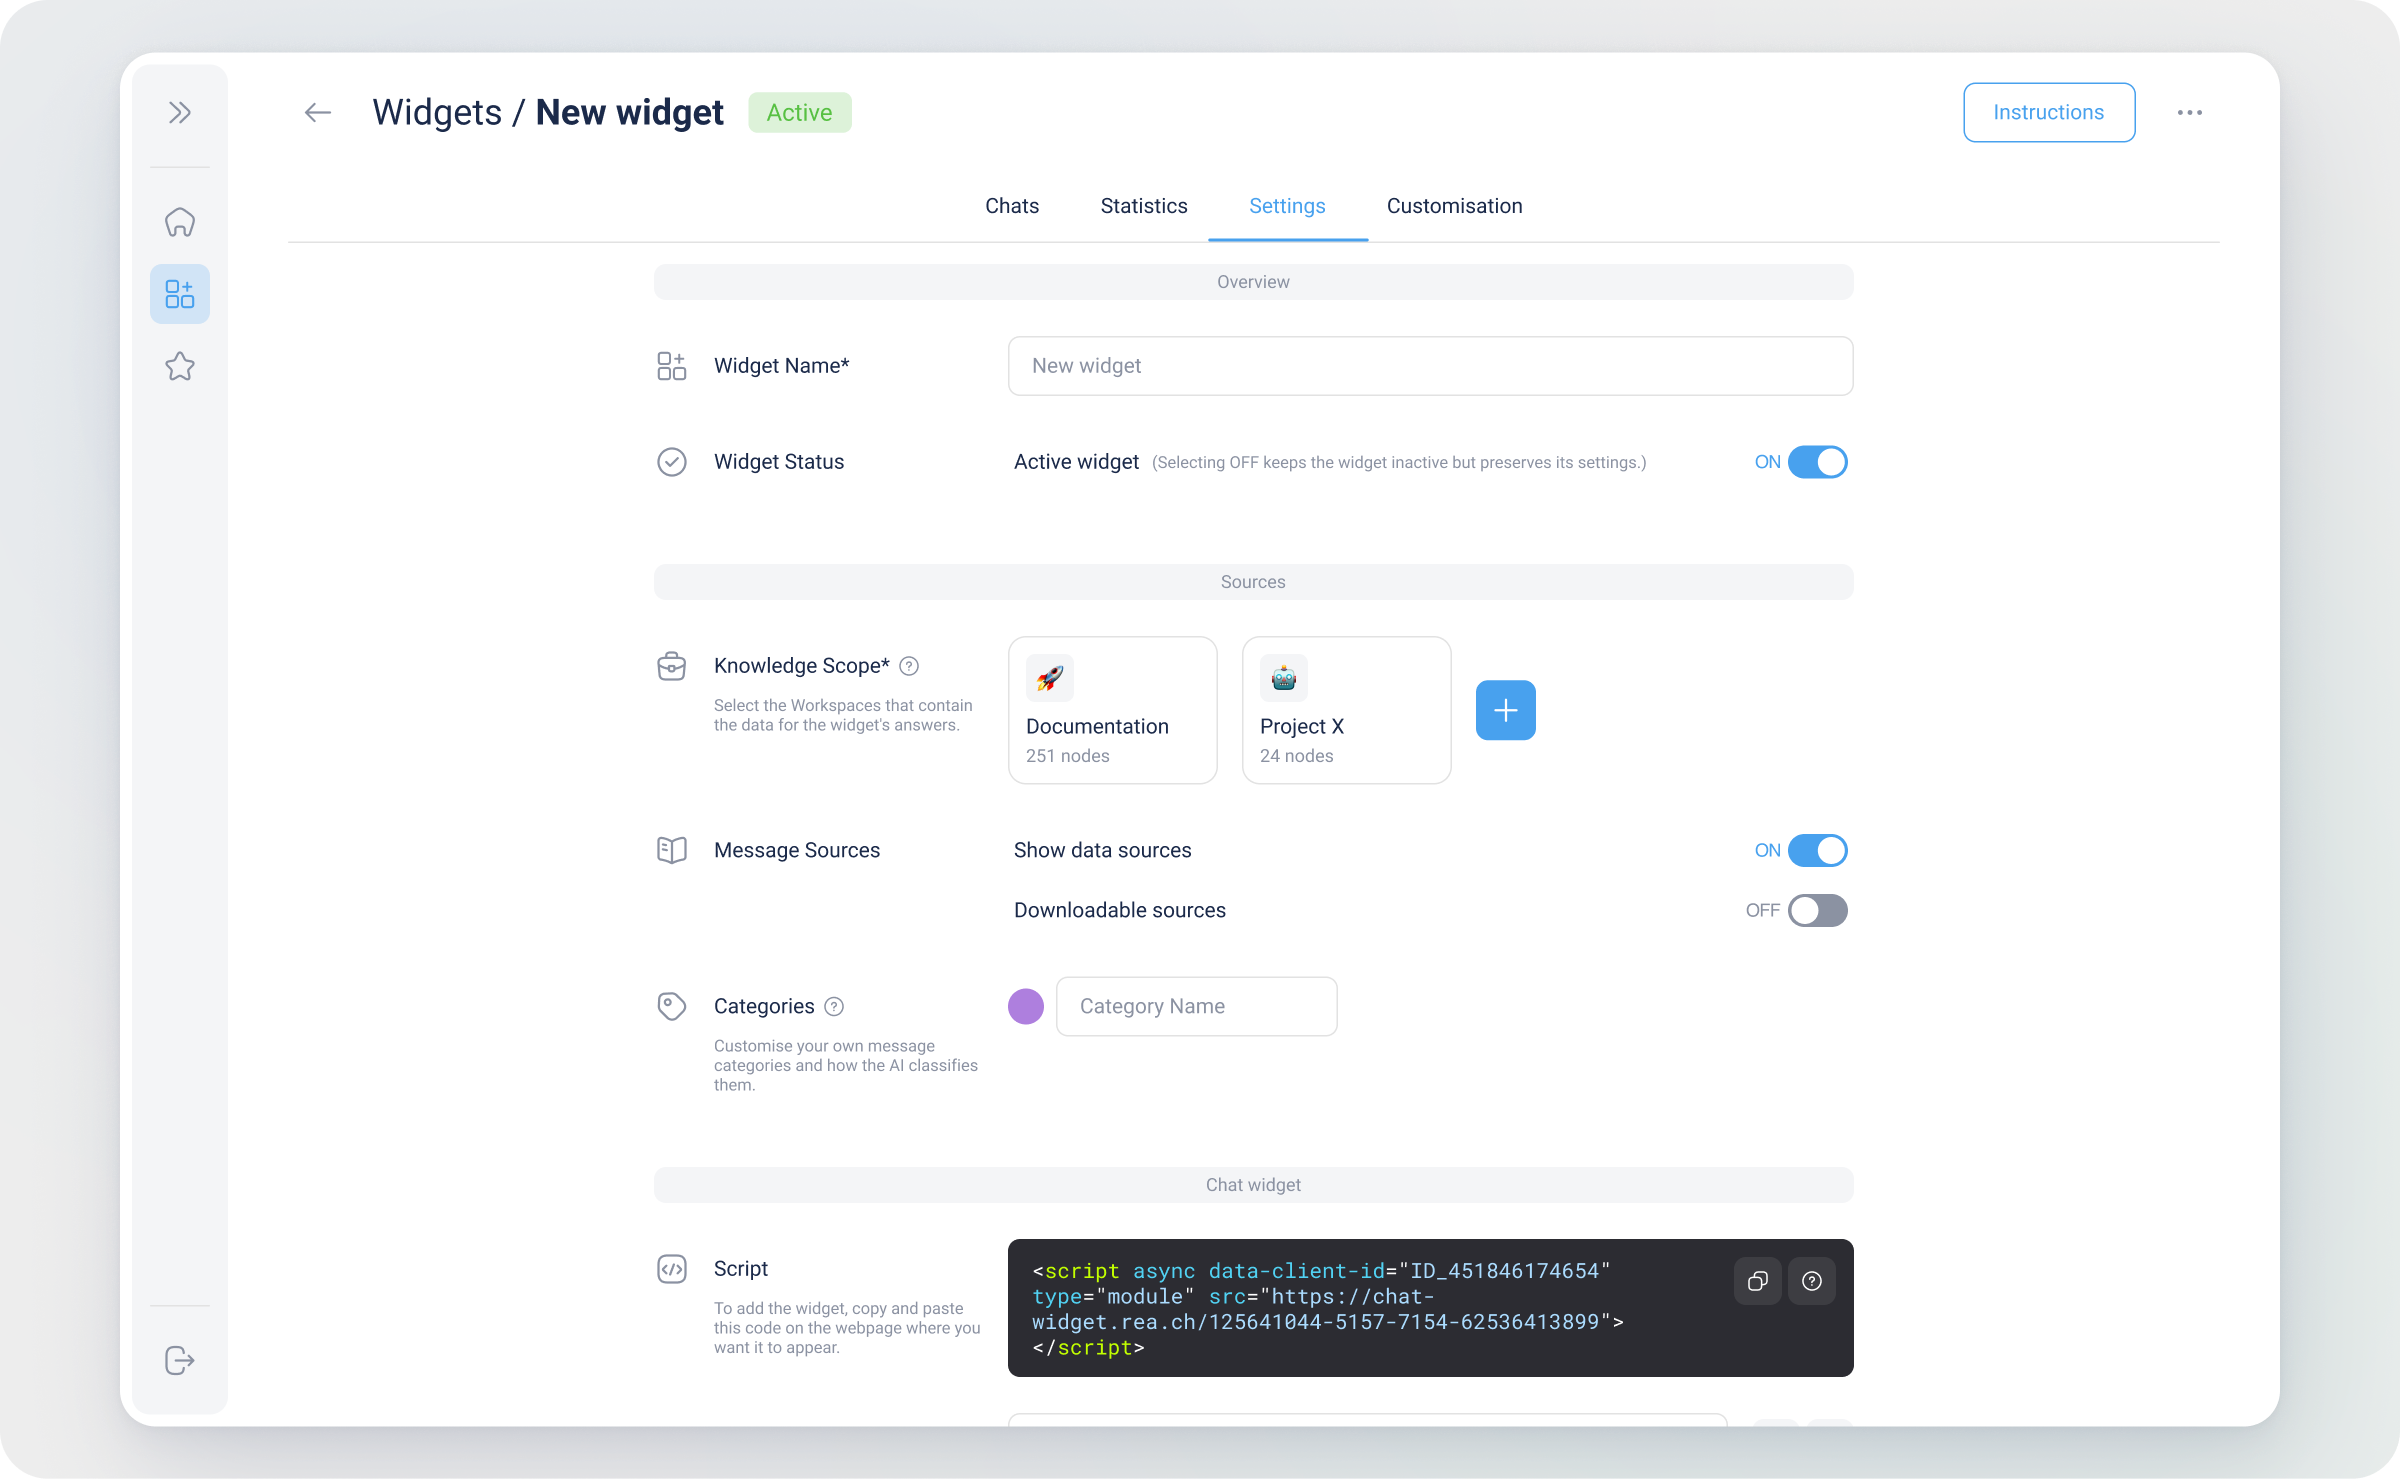
In the General settings section in Settings tab, fill in the required fields (marked with a *):
- Widget Name: The name you use internally for this widget. It is only for internal purposes, to distinguish this widget from others in the dashboard.
- Knowledge Scope: Select the relevant Workspaces containing your company's information (see the "❗️ Notice" above for more details about Workspaces). Add these to the Knowledge Scope for myGenie to have the right knowledge and info to answer customer questions.
⚠️ You will not be able to proceed or save your changes if you don't add one or more Workspaces here. - URL Whitelist: This is important for security. Only the domains defined here will be authorised to interact with your myGenie widget. This way, you keep control of the webpages that can use your widget.
- Contact Email: The company email that you want to link, for customers to reach out to in case of needing additional help (ex: contact@yourcompany.com)
-
All other fields are optional but recommended. You can customise myGenie to your company's brand and colours in the customisation tab.
-
Before adding it to your website, test it! Click on the three dots in the top right corner of the screen (next to instructions), and select Preview in full page. Write your website's address in the top search bar, see how it looks and test the AI chatbot.
-
Click here to learn how to add myGenie to your website.
Save time, reduce costs, increase revenue and enhance customer satisfaction with automated AI support.
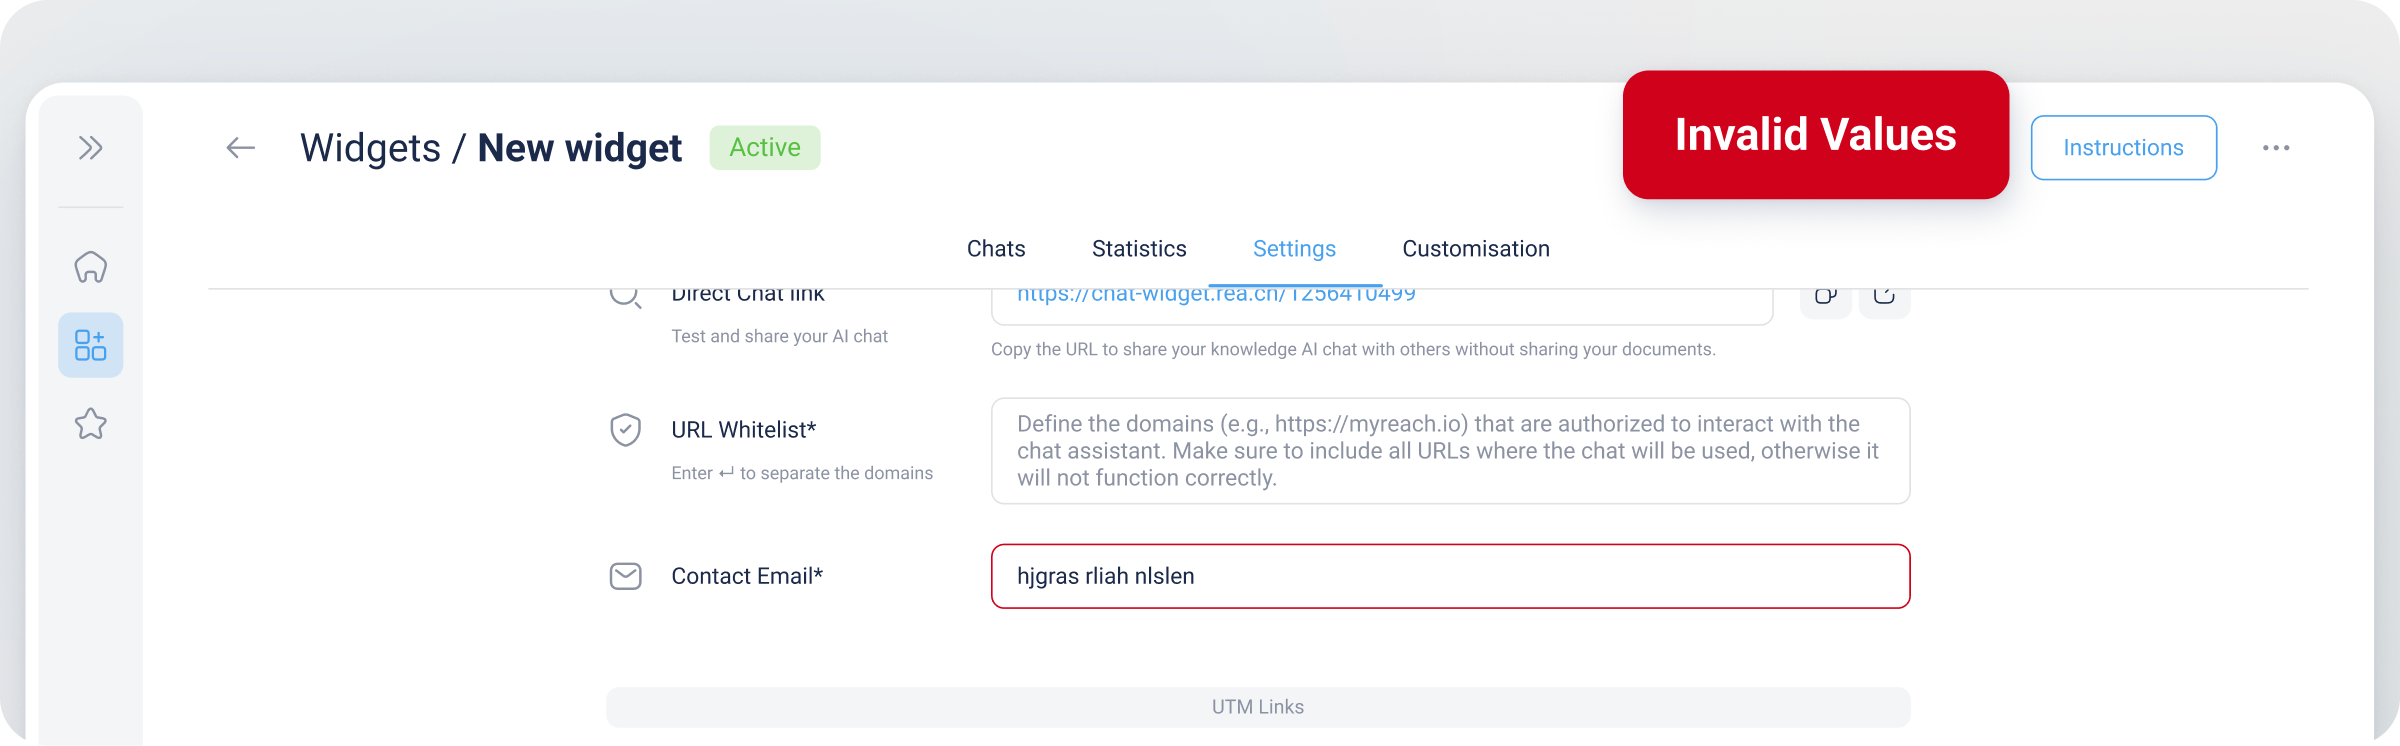
Invalid values
If a value is wrong (ie. missing), an "Invalid Values" button will appear in the top right of the screen, in place of the "Save" button.
This can be because the Knowledge scope is missing, or if a value is missing. For instance, you have given a category name but you're missing the category description.
Once all the fields are correct, it will change to a "Save" button.